Table of Contents
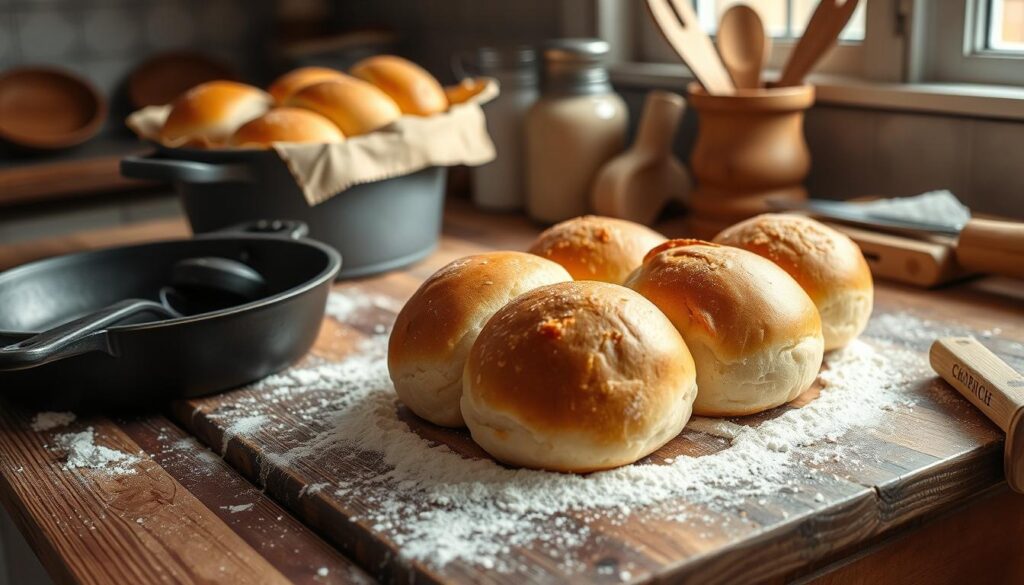
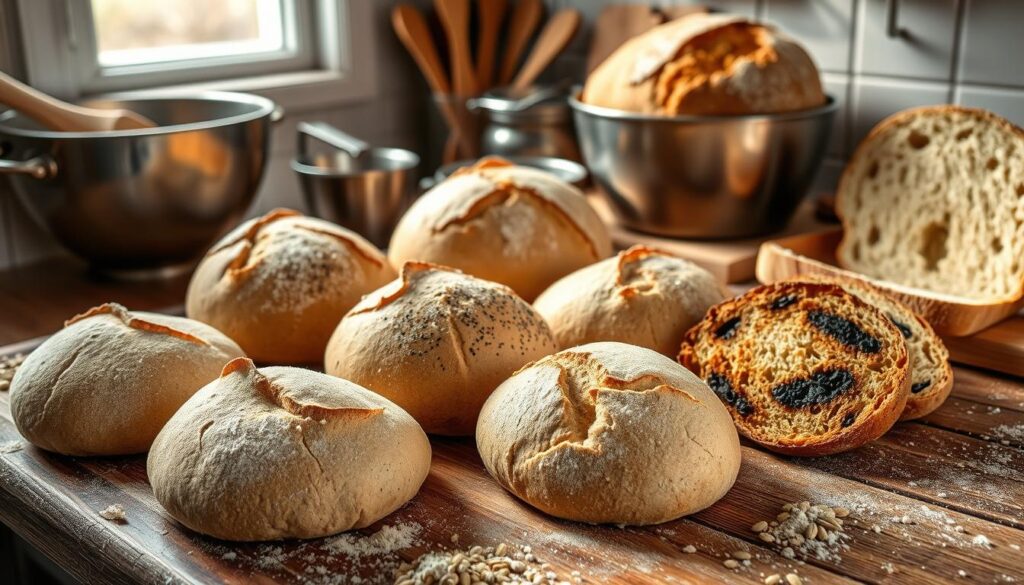
I still remember the first time I baked sourdough rolls. The smell in my kitchen was amazing. The crust’s chewiness made every bite a delight. If you want to bake your own sourdough rolls, keep reading.
This guide will show you how to make delicious sourdough rolls, even if you’re new to baking. We’ll cover how to grow a healthy sourdough starter and the fermentation process. You’ll learn a simple recipe to bake like a pro. Get ready to wow your loved ones with your sourdough creations!
Unlocking the Secrets of Delicious Sourdough Rolls
Before we dive into the recipe, let’s explore what makes sourdough rolls special. You’ll learn about the role of a well-maintained sourdough starter. Also, how the fermentation process turns the dough into a delicious treat.
Mastering the Art of Sourdough Starters
A great sourdough roll starts with a strong sourdough starter. This mix of wild yeasts and bacteria gives sourdough its tangy taste and chewy texture. Keeping your starter healthy takes effort, but it’s worth it.
- Feed your sourdough starter regularly with equal parts flour and water to keep it active and thriving.
- Store your starter in the refrigerator to slow down its growth and reduce the frequency of feedings.
- Revive a dormant starter by feeding it several times at room temperature before using it in your recipe.
Understanding the Sourdough Fermentation Process
The magic of sourdough baking happens during fermentation. The starter’s interaction with other ingredients creates complex flavors and a chewy texture.
The longer the dough ferments, the more intense the sourdough flavor will become. But, finding the right balance is key. Too much fermentation can make the taste sour.
“Patience and attention to detail are key when it comes to sourdough fermentation. The end result is well worth the wait.”
By understanding the importance of a healthy sourdough starter and the fermentation process, you’ll be well on your way to creating delicious, artisanal sourdough rolls in your own kitchen.
Gathering the Essential Ingredients
Making delicious sourdough rolls starts with the right ingredients. A few key components come together to create the perfect texture and taste. Let’s look at what you need to make your sourdough roll dreams come true.
The Flour Foundation
High-quality bread flour is the base for your sourdough rolls. It has more protein, which helps create a chewy texture. Choose a bread flour with 12-14% protein.
Water: The Liquid Lifeline
Water is vital in making sourdough rolls. The water amount depends on your starter’s hydration level. Aim for a water-to-flour ratio of 65-75%.
Sourdough Starter: The Leavening Powerhouse
- Your active sourdough starter is the key to unlocking the natural leavening power in your rolls.
- Make sure your starter is robust and at its peak of activity before incorporating it into your dough.
- The amount of starter you use will depend on the recipe, but a common range is 20-30% of the total flour weight.
Salt: The Flavor Enhancer
Salt is crucial in your sourdough rolls. A small amount, about 2% of the flour, balances flavors and enhances sweetness.
| Ingredient | Quantity |
|---|---|
| Bread Flour | 500g |
| Water | 325-375g |
| Sourdough Starter | 100-150g |
| Salt | 10g |
With these sourdough roll ingredients, you’re ready to make irresistible homemade sourdough rolls. Next, we’ll explore mixing and kneading techniques.
Step-by-Step Guide to Mixing the Dough
Mixing the perfect sourdough roll dough is all about combining your sourdough starter and kneading. Follow these easy steps to get the ideal texture and rise for your homemade rolls.
Incorporating the Sourdough Starter
Start by adding your active sourdough starter to the wet ingredients in your mixing bowl. Mix the starter with the water, oil, and other liquids until they’re well combined. This helps spread the natural yeast evenly for a strong rise.
Kneading Techniques for Perfect Texture
Now, it’s time to knead the how to mix sourdough roll dough. Begin by mixing in the dry ingredients like flour and salt until a shaggy dough forms. Then, turn the dough onto a lightly floured surface and knead for about 10 minutes.
Use the heel of your hand to push the dough away from you, then fold it back towards you. Keep repeating this until the dough is smooth, elastic, and passes the windowpane test.
Kneading builds the gluten structure, which is key for the perfect texture in your sourdough rolls. Be patient and consistent during this step. It will lead to soft and pillowy results.
“Kneading is the key to unlocking the full potential of your sourdough dough. With a little elbow grease, you’ll be on your way to bakery-worthy rolls.”
Easy Sourdough Rolls: A Beginner-Friendly Recipe
Ready to try sourdough baking but not sure where to begin? This easy sourdough rolls recipe is just for you. It’s perfect for beginners and will make delicious homemade rolls that everyone will love.
Making sourdough rolls from scratch might seem hard, but our guide makes it easy. You’ll learn how to make easy sourdough rolls right in your kitchen.
Gathering the Essentials
To start your easy sourdough rolls recipe, you’ll need a few basic things:
- Sourdough starter
- All-purpose flour
- Warm water
- Salt
- Butter or oil (optional)
With these ingredients ready, you’re all set to start making your sourdough rolls.
Mixing the Dough
The secret to great easy sourdough rolls is in the dough. Here’s how to make a dough that will rise beautifully:
- In a big mixing bowl, mix the sourdough starter, flour, and warm water. Start with a shaggy dough.
- Knead the dough for about 10 minutes, either by hand or with a stand mixer.
- Cover the dough and let it rest for 30 minutes to an hour. This lets the gluten develop.
- Shape the dough into rolls and put them on a baking sheet.
Now, let’s get to the last steps of proofing and baking your easy sourdough rolls.
Proofing and Shaping Your Sourdough Rolls
Getting the perfect rise is key for light and airy sourdough rolls. The proofing stage is where the magic happens. Here, the yeast in your starter works its wonders. To make sure your rolls reach their best, watch the proofing conditions and techniques closely.
Creating the Perfect Rise
Proofing your sourdough rolls is about finding the right balance. The ideal temperature is between 70°F and 85°F, with a bit of humidity. This helps the yeast ferment and produce carbon dioxide, making the dough rise beautifully.
To get the perfect rise, follow these steps:
- Put the shaped rolls in a lightly greased proofing container or on a parchment-lined baking sheet.
- Cover the rolls with a clean, damp towel or plastic wrap to keep them moist.
- Let the rolls proof for 1-2 hours, or until they double in size. Watch them closely to avoid overproofing, which can make them dense.
Mastering sourdough roll proofing takes practice, but with patience and attention, you’ll get those perfect, Instagram-worthy rolls.
Shaping Sourdough Rolls
After proofing, it’s time to shape the dough into classic forms. Here are a few techniques to try:
- Simple rounds: Gently shape the dough into individual balls, being careful not to deflate it.
- Crescent shapes: Roll the dough into a long rectangle, then cut into triangles and roll them up from the wide end to the narrow tip.
- Knots: Roll the dough into ropes, then tie each piece into a loose knot before placing on the baking sheet.
Choose any shaping method you like, but be gentle and avoid overworking the dough. This keeps the dough airy and light, just as you want it.
Baking Techniques for Golden Perfection
Baking sourdough rolls to golden, crusty perfection is the final step in this rewarding process. To achieve bakery-worthy results, pay close attention to your oven temperature and baking times. By mastering these essential baking techniques, you’ll unlock the secret to consistently delicious sourdough rolls that are sure to impress your family and friends.
Achieving the Perfect Oven Temperature
Ensuring your oven is preheated to the right temperature is crucial for baking sourdough rolls. The optimal temperature range is between 400°F and 425°F. This high heat helps the rolls develop a golden-brown crust while maintaining a soft, fluffy interior.
Timing the Bake to Perfection
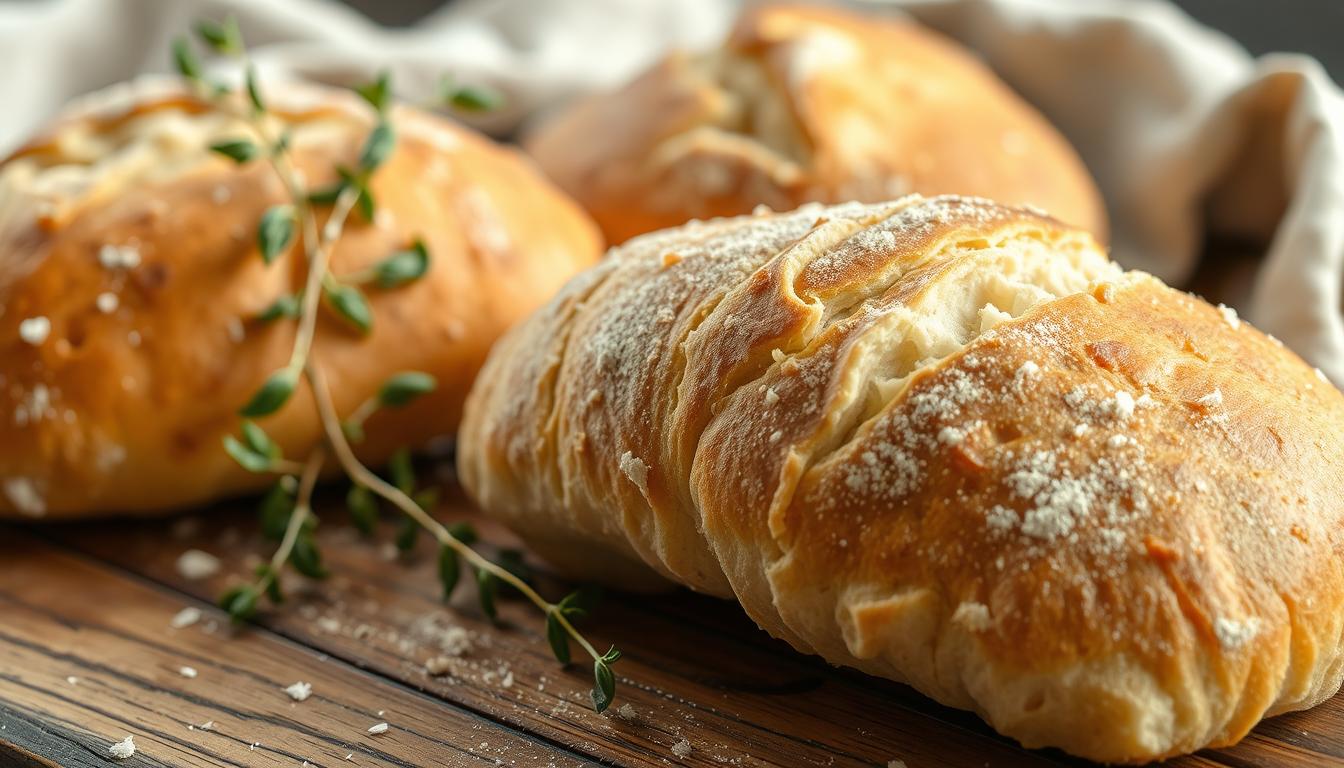
Baking time can vary depending on the size and shape of your sourdough rolls, but as a general guideline, you’ll want to bake them for 20 to 25 minutes. Keep a close eye on them, and be prepared to adjust the baking time if needed. The rolls are ready when they’ve achieved a deep, golden-brown hue.
Unlocking the Secret to a Crispy Crust
- Brush the rolls with a light egg wash or melted butter before baking to help create a shiny, crispy crust.
- Consider adding a few ice cubes to the oven during the initial baking phase to create steam, which will further enhance the crust development.
- If your rolls are not achieving the desired crunch, try increasing the oven temperature slightly or baking them for a few extra minutes.
By following these expert baking techniques, you’ll be well on your way to producing sourdough rolls that are golden, crusty, and absolutely irresistible. Enjoy the fruits of your labor and savor the satisfaction of homemade baking perfection.

Serving and Storing Your Homemade Sourdough Rolls
Congratulations on mastering the art of baking delicious sourdough rolls! Now it’s time to enjoy your hard work. You can serve them as a side or snack. There are many ways to show off your sourdough rolls.
Delicious Pairings and Toppings
Sourdough rolls are great for many toppings and pairings. Here are some tasty ideas to enhance your sourdough experience:
- Pair them with creamy soups or stews for a cozy meal.
- Top them with butter, jam, or honey for a classic treat.
- Sprinkle on shredded cheese, herbs, or garlic for a savory twist.
- Serve them with roasted meats, salads, or dips for a complete meal.
There are endless ways to serve your sourdough rolls. Be creative and try different flavors to find your favorite.
Storing Your Sourdough Rolls
To keep your sourdough rolls fresh and tasty, proper storage is important. Here are some tips for storing sourdough rolls:
- Let the rolls cool completely before storing.
- Put them in an airtight container or resealable plastic bag at room temperature.
- For the best taste, eat the rolls within 2-3 days.
- If you need to store them longer, freeze the rolls for up to 3 months. Thaw them at room temperature before serving.
By following these storage tips, you can enjoy your homemade sourdough rolls for days. They will stay fresh and delicious.
Remember, the key to serving and storing your sourdough rolls is to enjoy their unique taste and texture. Try different pairings and toppings to find your favorite.
Troubleshooting Common Sourdough Roll Issues
Even the most skilled bakers can run into problems when making troubleshooting sourdough rolls. We’ll cover some common issues and offer solutions to help your next batch turn out great.
Dense Texture
If your sourdough rolls are dense, it might be because of a few reasons. Overworking the dough can make it tight. Be gentle when kneading and avoid too much handling. Also, under-proofing can cause a dense texture. Make sure your dough has enough time to rise and get airy.
Uneven Baking
Some rolls might get too brown while others stay pale. This often happens because of inconsistent oven temperature or improper oven placement. Preheat your oven well and rotate the baking sheet to get even browning.
Over-Proofing
Over-proofing can make your rolls look deflated and wrinkled. This is when the dough rises too long, breaking down the gluten. Watch the proofing time closely and consider the environment’s temperature and humidity.
| Common Issue | Possible Causes | Solutions |
|---|---|---|
| Dense Texture |
|
|
| Uneven Baking |
|
|
| Over-Proofing |
|
|
By tackling these common troubleshooting sourdough rolls problems, you’ll be on your way to baking light and fluffy rolls every time. The secret to success is understanding the sourdough process and making the right adjustments.

Creative Variations: Sourdough Dinner Rolls and More
Exploring new culinary horizons is a delightful adventure, and your sourdough baking journey is no exception. Once you’ve mastered the art of making classic sourdough rolls, why not venture into creating some exciting variations? From savory sourdough dinner rolls to innovative uses for your sourdough discard, the possibilities are endless.
Utilizing Sourdough Discard for Delicious Rolls
Don’t let that precious sourdough discard go to waste! Instead, put it to good use by incorporating it into your roll recipes. The tangy flavor and natural leavening properties of the discard can elevate your rolls to new heights. Experiment with adding sourdough discard to your favorite roll doughs, adjusting the other ingredients as needed, and savor the unique depth of flavor it brings to your homemade creations.
Sourdough dinner rolls are a delightful twist on the classic, perfect for pairing with hearty meals or serving as a side at special gatherings. Adjust the shaping and baking techniques to create perfectly portioned, soft, and fluffy sourdough dinner rolls that will have your guests clamoring for seconds.


1 thought on “Easy Sourdough Rolls: Perfect for Beginners”